EveryMIDI – Aftertouch for All
Currently we offer three product variations:
AT USB
AT Desktop – USB/MIDI/CV
AT DX M – AT retrofit for MODX M6 and M7
Dual Aftertouch expansion/retrofit for virtually any instrument… and more!
Back our campaign now!
The Desktop Version is There for Every Situation
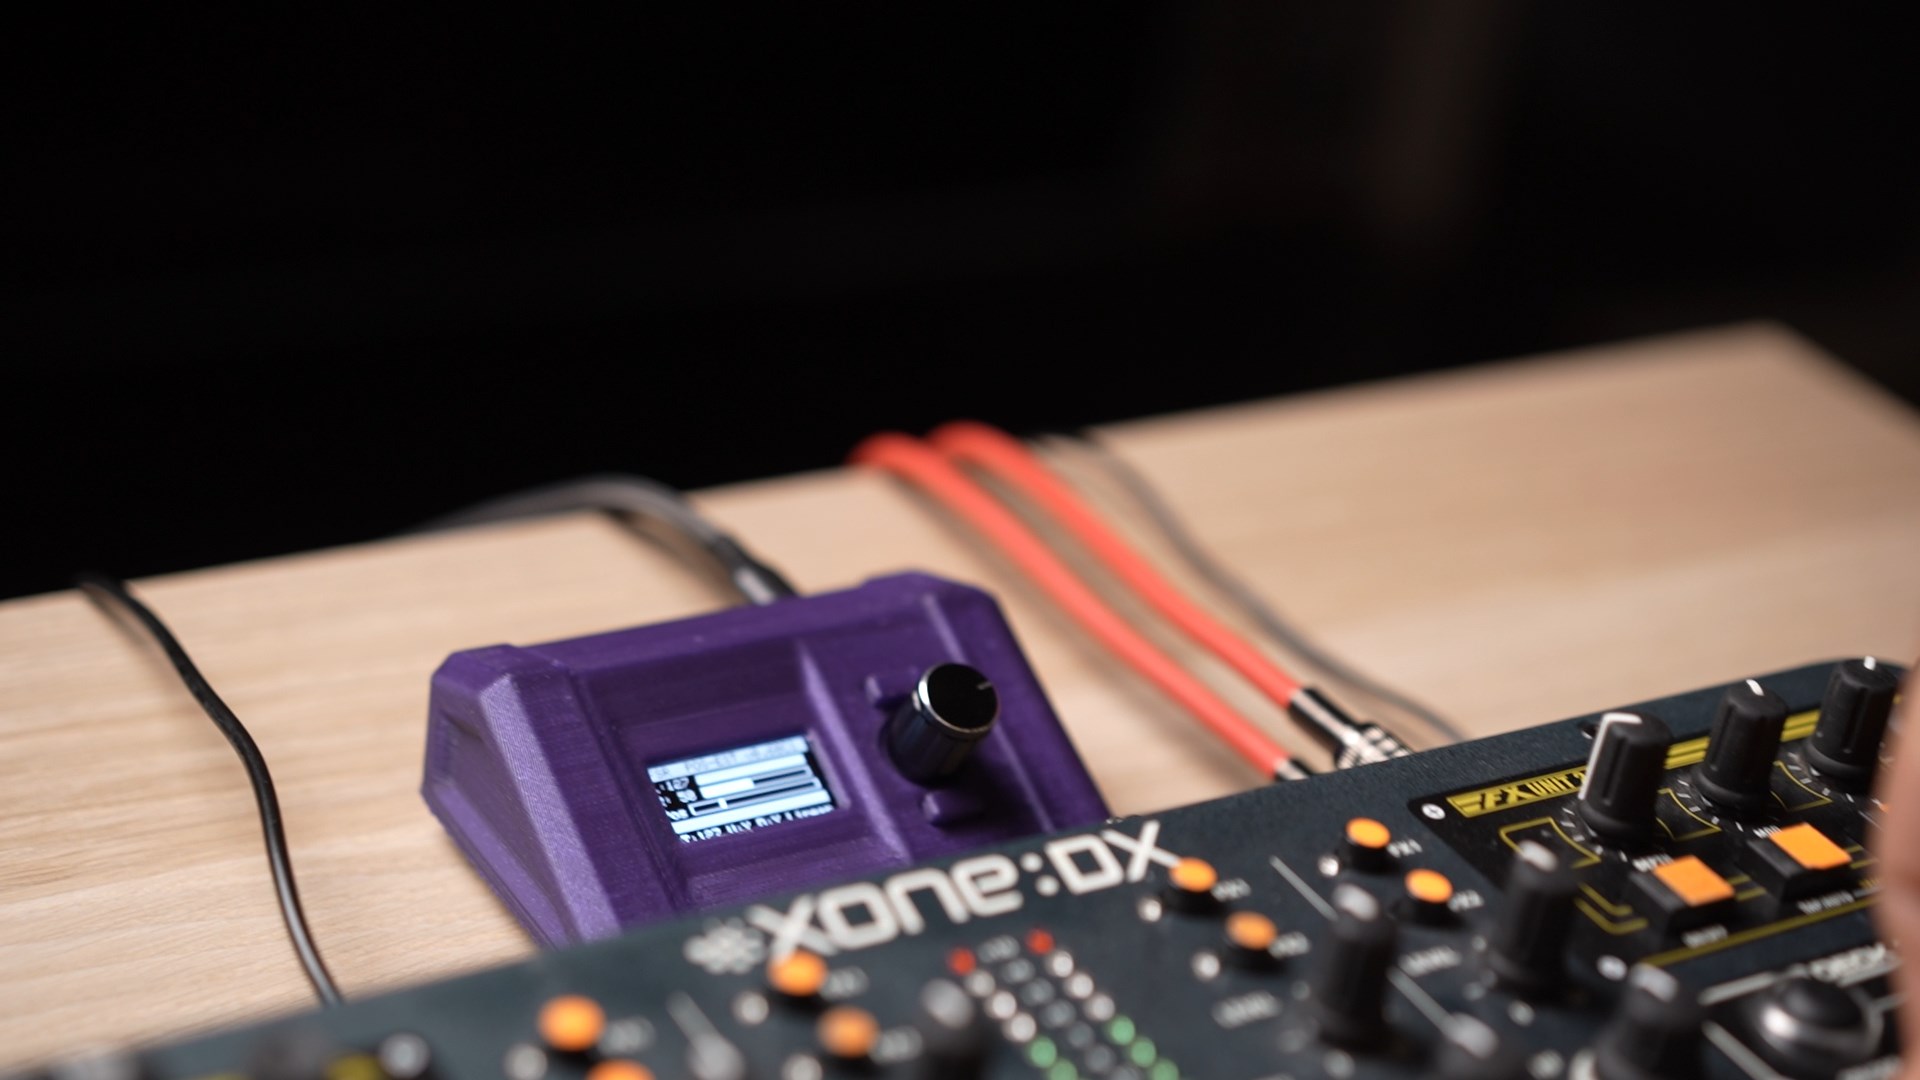
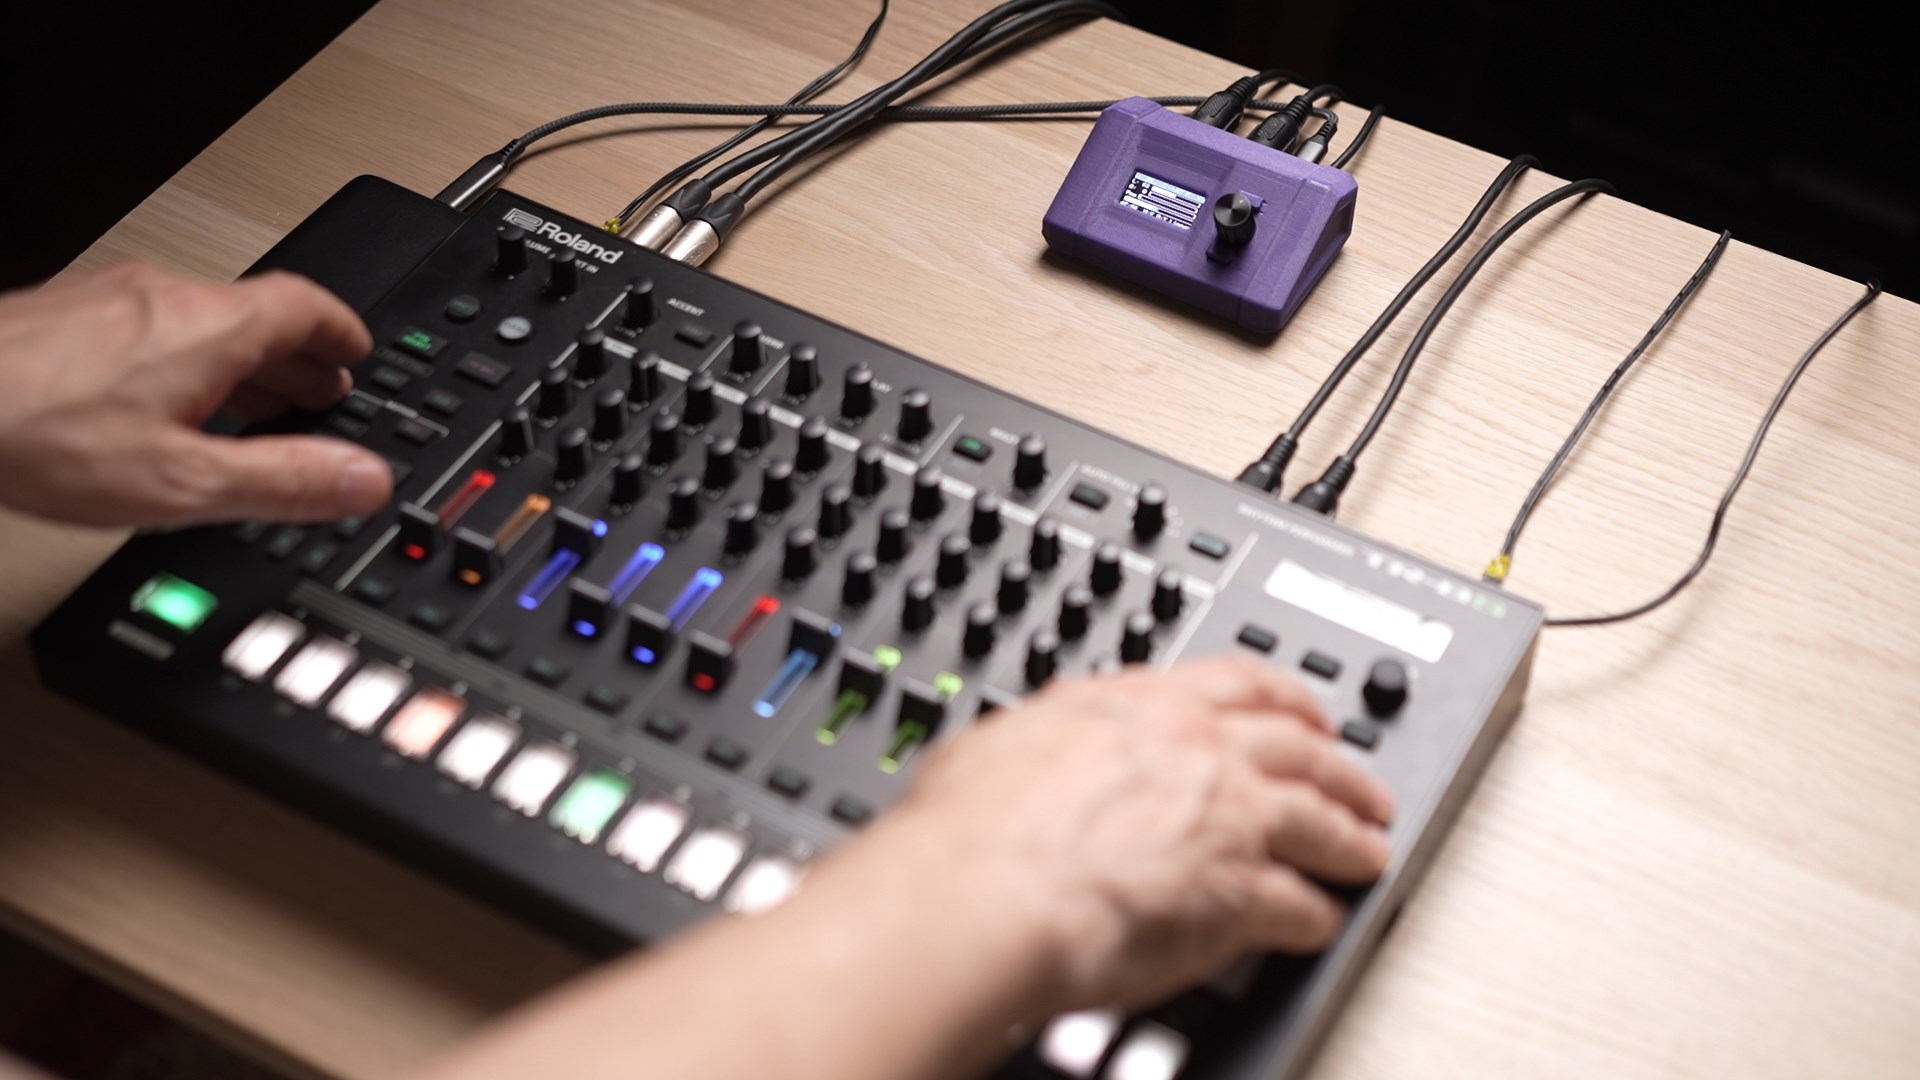
Besides the smaller USB only extension, we offer a desktop version. Get this if you want to integrate it to your existing gear via its conventional 5 pin DIN MIDI connectors and CV/Trigger outputs. Desktop can be used just like the USB only version when you want it.
FAQs
When can I get my EveryMIDI AT, and what price?
You can find all the details (pricing and delivery info) just follow the link to our campaign
Can I personalize EveryMIDI AT to my playing style?
Of course. The easiest way is to simply select “CALIBRATE” from the menu and apply the strongest pressure you feel confortable. That’s it. There is a wide range of sensitivity from 1N to 100N (~0.1 to 10kg). If you plan to use our interface with an application which needs different range of force, please contact us.
Can I use multiple EveryMIDI ATs together?
EveryMIDI AT acts like a MIDI controller. If your system is able to receive more than one USB or MIDI input, there is no limit of the number of EMATs in a setup. Even today’s synthesizer workstations can use multiple external controllers via USB using a HUB. Please check the documentation of your gear first.
Will I void the warranty if I get EveryMIDI AT DX M installed?
At the moment we think yes, you void the warranty. We need to disassemble your Modx M6 or M7 (other keyboard models are under investigation) and install the sensors under the keys. At the same time if you have a problem with your device, it is up to the original manufacturer or distributor to decide whether their service will repair your device under warranty or not. Even if we do our best to work professionally and carefully, we can take responsibility only for our work. We put the sensors under the keyboard, we won’t even touch other parts of the instrument inside.
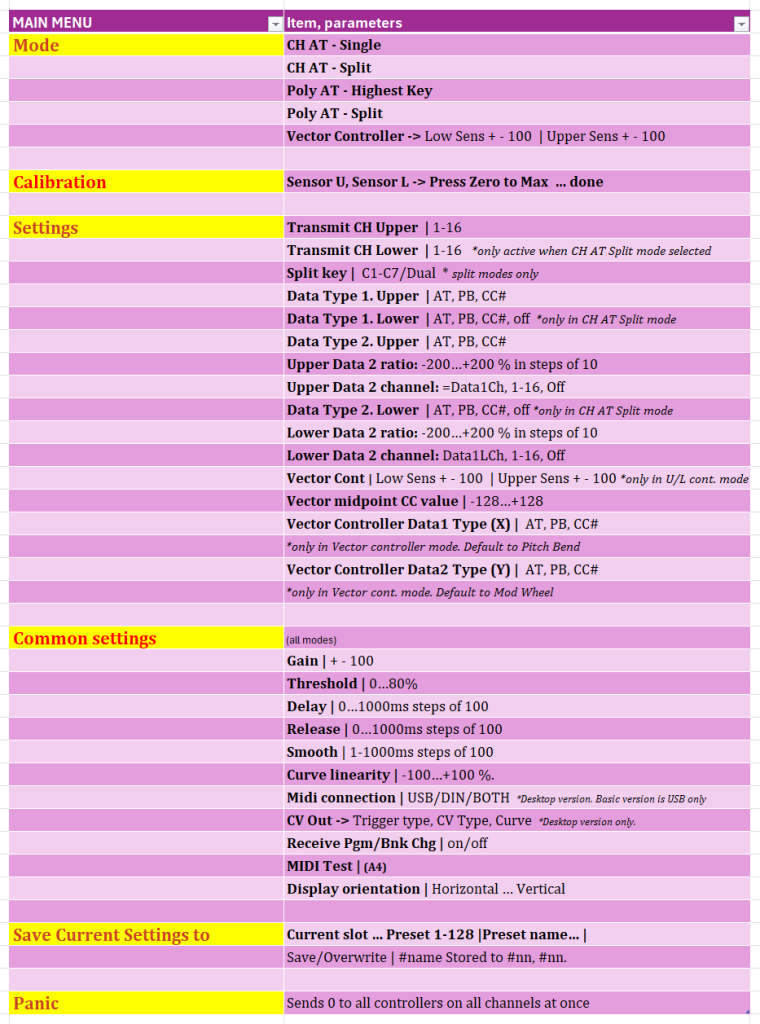
The Menu Structure and Operating Modes
Description of Modes and Functions
In Channel Aftertouch Single mode EveryMIDI can transmit two independent MIDI messages simultaneously. For example, Channel Aftertouch and CC74 can be sent at the same time, either on the same MIDI channel or on different channels. Split and Poly AT modes can double the data sent out; it can transmit two independent MIDI messages for both the Lower and Upper part of the instrument.
The output value of Data2 can be adjusted from -200% to +200% relative to Data 1. Data 2 can also be disabled if not required.
Polyphonic Aftertouch Modes
Polyphonic Aftertouch modes require MIDI In to be connected (or configured via USB MIDI). To generate Polyphonic Aftertouch messages, EveryMIDI must know which keys are currently pressed.
For best results, disable Local Control on the synthesizer so that keyboard data is sent to EveryMIDI, while the synthesizer’s sound engine responds to the MIDI data returned by EveryMIDI.
If you are using a separate MIDI controller and sound module, no special configuration is required—simply connect EveryMIDI between the MIDI controller and the sound module. * desktop version only
If you are using a computer and a MIDI controller, connect EveryMIDI to a free USB port of the computer, and make sure that the correspondent MIDI input is active
Performance Parameters
EveryMIDI provides a wide range of adjustable parameters to suit the player’s style. These parameters are stored within each preset and are common to all operating modes.
| Parameter | Range | Description |
| Gain | -200% to +200% | Simple multiplier applied to the calculated controller data. |
| Threshold (Relative) | 0–80% | No data is transmitted until the threshold value is exceeded. |
| Attack | 0–1000 ms (100 ms steps) | Time taken for the output to rise from the threshold to the current pressure value. |
| Release | 0–1000 ms (100 ms steps) | Time taken for the output to return to zero after pressure is released. |
| Smooth | 1–1000 ms (100 ms steps) | Controls how quickly the output changes to the next value. Similar to portamento or slew limiting. |
| Curve Linearity | +100 to -100 | Adjusts the output response from linear to exponential. Set to 0 for linear response. Positive values reach maximum output sooner, while negative values need more force to reach the same output at lower pressure range. |
Operating Modes
Channel Aftertouch – Single
The lower and upper pressure sensors are combined into a single Channel Aftertouch output.
Two independent MIDI messages can be transmitted simultaneously on the same or different MIDI channels. The relationship between Data 1 and Data 2 can be adjusted from -200% to +200%.
Channel Aftertouch – Split
The lower and upper pressure sensors operate independently.
Each sensor can transmit two MIDI messages, providing four independent outputs:
- Lower Data 1
- Lower Data 2
- Upper Data 1
- Upper Data 2
All other settings are identical to Channel Aftertouch – Single.
Polyphonic Aftertouch – Highest Key
Polyphonic Aftertouch is applied only to the highest currently held note. All other notes remain unaffected.
Polyphonic Aftertouch – Split
Polyphonic Aftertouch is applied only to notes played above a user-defined split point. Notes below the split point remain unaffected.
This mode is ideal for two-handed playing, allowing expressive lead lines while chords remain unchanged.
Upper/Lower Vector Controller
Lower Sensitivity: ±100
Upper Sensitivity: ±100
This mode turns the instrument itself into a two-axis expression controller.
- Pressing the left side decreases the output value.
- Pressing the right side increases the output value.
- The centre position can be calibrated in the settings menu.
- Pressing both sides simultaneously generates a second modulation signal.
By default, this mode is configured as Pitch Bend + Modulation Wheel:
- Left side → Pitch Bend Down
- Right side → Pitch Bend Up
- Both sides together → Modulation (CC1)
Menu Structure